Injector removal
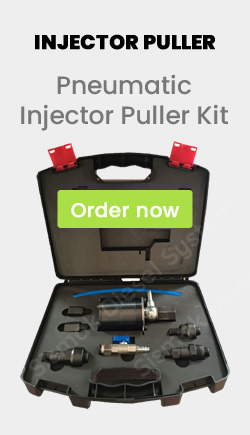
Injector removal tool
injector removal kit,
stuck injector removal  content viewed 3122 times

Injector removal refers to the process of removing fuel injectors from an engine. Injectors are responsible for delivering fuel into the combustion chamber, and they can occasionally require removal for inspection, cleaning, or replacement.
The specific procedure for removing injectors can vary depending on the engine and injector design. However, here is a general overview of the steps involved in injector removal:
1. Preparation: Ensure you have the necessary tools and safety equipment. It's also recommended to consult the engine manufacturer's service manual for specific instructions and precautions.
2. Disconnect the Fuel System: To prevent fuel leaks and potential hazards, you need to disconnect the fuel system. This typically involves depressurizing the fuel system, disconnecting the fuel lines, and removing any retaining clips or fasteners securing the injectors.
3. Remove Intake Manifold or Cover: In some cases, the intake manifold or a cover needs to be removed to access the injectors. This step may involve removing bolts, clamps, or other fasteners securing the manifold or cover.
4. Disconnect Electrical Connectors: Each injector has an electrical connector that needs to be disconnected. Carefully unplug the connectors while avoiding any damage to the wiring harness.
5. Remove Injector Retaining Clips or Bolts: Depending on the engine, the injectors may be held in place with retaining clips or bolts. Use the appropriate tools to remove these fasteners and set them aside for reinstallation.
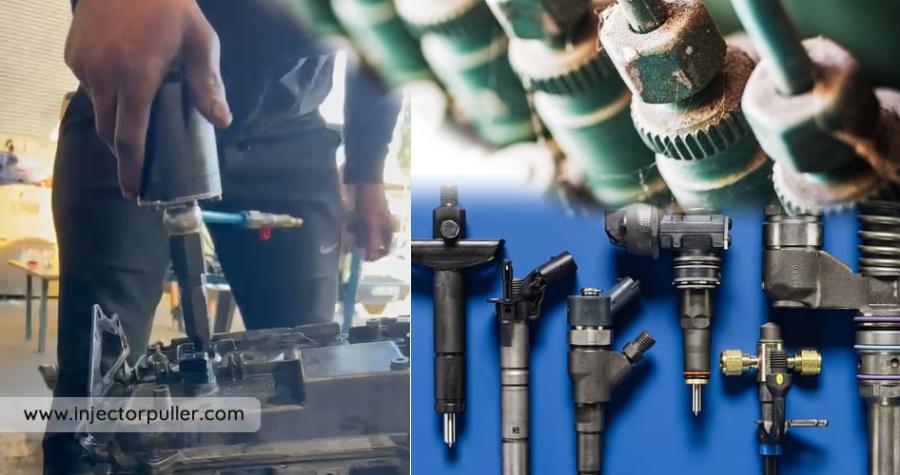
6. Extraction: Gently wiggle and pull the injector straight out of its housing. If the injector feels stuck or difficult to remove, avoid excessive force, as this can cause damage. Instead, consider using specialized tools like injector pullers or slide hammers designed for safe removal.
7. Inspect and Clean: Once the injectors are removed, carefully inspect them for signs of damage, wear, or clogging. If necessary, clean the injectors using appropriate cleaning solutions or methods recommended by the manufacturer or a professional technician.
Stuck injector removal
It's important to follow proper safety precautions and consult the specific engine's service manual or seek professional assistance if you're unsure about any step of the injector removal process.
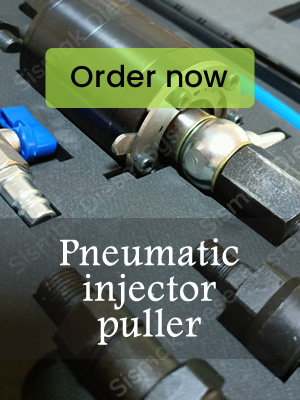
Injector removal kit

Injector removal is a critical process in the maintenance of any vehicle. It involves removing and replacing fuel injectors, which are responsible for delivering fuel to an engine's cylinders. The process is relatively straightforward but requires precision and attention to detail, as even minor errors can lead to costly repairs or damage down the line.
The first step in injector removal is gaining access to the unit by disconnecting all related electrical components such as hoses, wires and plugs that may be connected directly or indirectly with it. Once these components have been disconnected from their respective locations on the engine block, they must be carefully removed so that no additional damage occurs during extraction of the injector itself. Depending on your make/model of car this could involve using special tools designed specifically for this purpose or simply unscrewing bolts with a socket wrench if applicable; either way care should always be taken not to strip threads when loosening fasteners since this will require more work later on during installation of new parts.
Injector removal kit
Finally once everything has been properly detached from its original location you can begin extracting each individual part until only one remains. This component needs extra caution when handling because it contains pressurized liquid which could cause serious injury if mishandled improperly; therefore proper safety equipment should always be used while performing any type of repair job involving high pressure liquids like gasoline engines typically do.
Added in Jun 2023 - Reviewed 3122 times