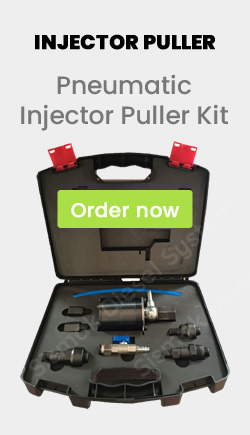
Air injector removal tool
Injector disassembly
diesel injector disassembly,
pneumatic nozzle removal tool  content viewed 4082 times
Injector disassembly refers to the process of taking apart a fuel injector to access its internal components. This procedure is often performed for cleaning, inspection, or repair purposes. However, it's important to note that disassembling fuel injectors requires precision and specialized knowledge. It is typically recommended to have the disassembly done by experienced professionals or technicians who have the necessary tools and expertise. Here are some general steps involved in the injector disassembly process:
1. Preparation: Ensure you have a clean and organized work area. Gather the required tools and safety equipment. Refer to the manufacturer's service manual for specific instructions and precautions.
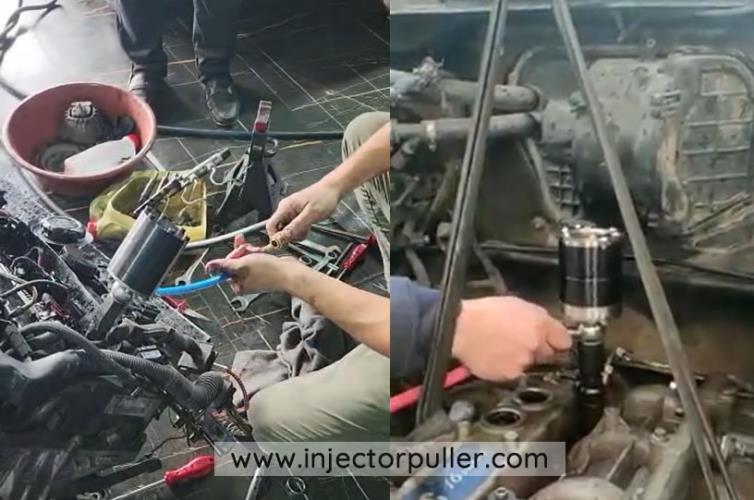
2. Removal from the Engine: The injector needs to be removed from the engine before disassembly. This typically involves disconnecting any electrical connectors, fuel lines, or fasteners holding the injector in place. Follow the appropriate procedures for removing the injector without causing damage.
3. External Cleaning: Before disassembly, clean the exterior of the injector to remove any dirt or contaminants that could enter the injector during the disassembly process. Use a suitable cleaning solution and a soft brush or cloth.
4. Disassembly: Disassemble the injector according to the manufacturer's instructions. This may involve removing retaining clips, screws, or other fasteners that hold the injector together. Carefully document the disassembly process to ensure proper reassembly later.
5. Component Inspection: Inspect each disassembled component for signs of damage, wear, or clogging. Pay attention to critical parts such as nozzles, o-rings, seals, and springs. Replace any damaged or worn components as necessary.
6. Cleaning: Clean the disassembled components using appropriate methods and solutions. Follow the manufacturer's recommendations or consult professional guidance to ensure thorough and proper cleaning without causing damage.
7. Reassembly: Once the cleaning and inspection are complete, carefully reassemble the injector, ensuring all components are correctly aligned and installed. Follow the manufacturer's instructions and use proper torque specifications for fasteners.
8. Testing and Calibration: After reassembly, it's important to test and calibrate the injector to ensure proper functionality. This may involve performing flow tests, pressure tests, or using specialized equipment to verify the injector's performance.
It's crucial to note that disassembling fuel injectors can be complex, and improper handling or assembly can lead to injector damage, poor performance, or safety hazards. If you're unsure or lack experience in injector disassembly, it's recommended to consult a professional mechanic or technician who has expertise in this area.
Injector disassembly

Injector disassembly is a critical step in the maintenance and repair of many types of engines. It involves carefully removing all components from the injector, inspecting them for wear or damage, and then reassembling them correctly. The process can be complex depending on the type of engine but generally follows similar steps regardless.
The first step in injector disassembly is to remove any external parts such as fuel lines or brackets that may be attached to it. This should always be done with care as these components are often delicate and easily damaged if handled roughly during removal. Once these have been removed, you will need to access the internal workings by unscrewing any retaining screws that hold it together before gently pulling apart each component piece-by-piece until they are all exposed for inspection and cleaning/replacement if necessary. Special tools may also be required depending on what kind of engine you’re working with so make sure you have those available before beginning this process. Diesel injector disassembly.
Finally, when putting everything back together again after completing your repairs or inspections remember that every single part needs to fit snugly into its respective place - no loose ends! Also pay close attention when tightening down bolts/screws as overdoing it could cause serious damage which would require further work later down the line; use only enough pressure needed so nothing becomes too tight (but still secure). Taking your time during this stage ensures everything functions properly once reinstalled into an engine system - making sure not only safety but also performance standards remain high at all times.
Added in Jun 2023 - Reviewed 4082 times